Bring your own key to Twitter


To keep our prices down, we transitioned to a BYOK (Bring Your Own Key) model. What does this mean? Well, adding your account to StormScribe will take a few extra steps, but you will be able to enjoy our services for the same price as before. Let's see how you can do this in the following short tutorial.
Here's a short draft of what we'll cover:
- Create a Twitter developer account
- Create a Twitter app
- Setup user authentication for your app
- Generate API keys
- Add your credentials to StormScribe
- Schedule your first tweet
Create a Twitter developer account
Navigate to the Twitter Developer Portal and press Subscribe now on the top.

On the next screen, choose the Sign up for Free Account option.
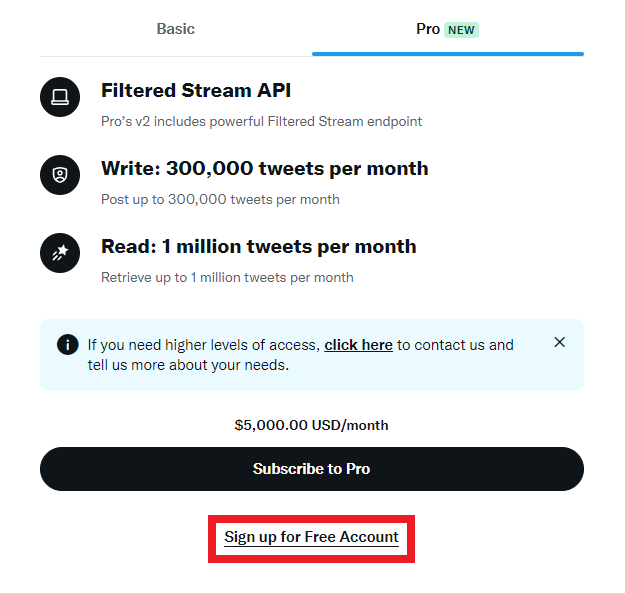
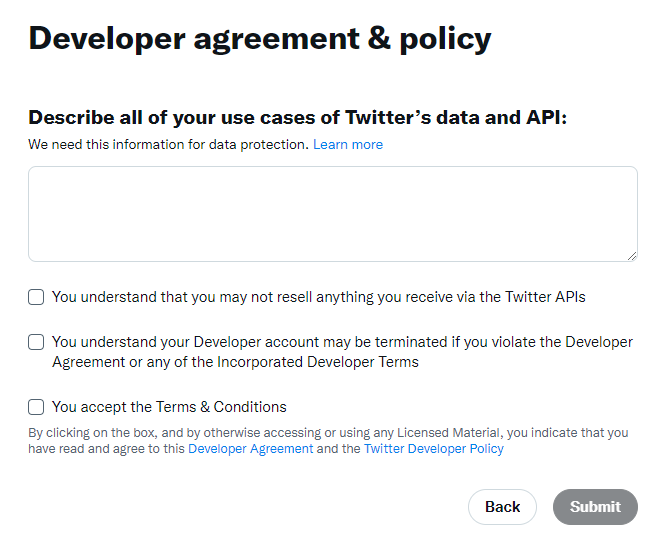
Fill out the Developer agreement & policy form, then check the checkboxes below in case you agree with the terms. Press Submit.
Write something like the following in the use cases field. Feel free to copy-paste it because your input must be at least 250 characters long:
I would like to use the Twitter API to schedule tweets on my account with an application. I will only use the API to send my tweets to the platform. I won't use the API to fetch information from Twitter. The only reading I will do is my profile information.
It should take just a few seconds to create your account.
Create a Twitter app
If everything goes well, you should be redirected to the following page: Developer Portal. There's a change that a default app is already created for you. If that's the case, you can skip this step.
If you don't see any apps, press the Create App button and give it a name. It should be pretty random, because common words are already taken.
Setup user authentication for your app
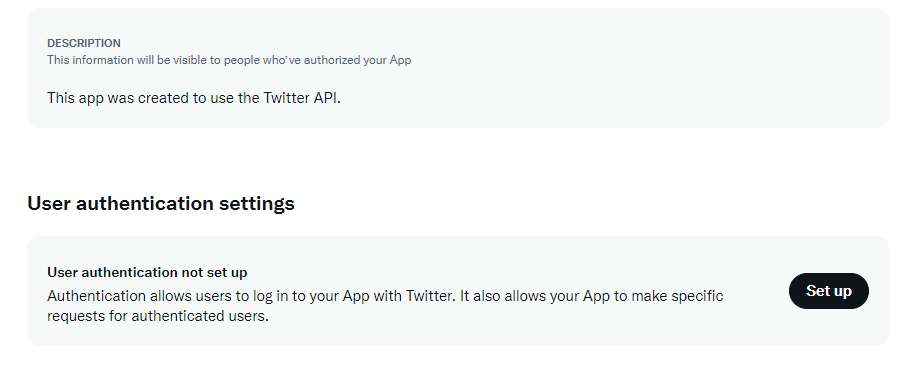
You have to setup user authentication for your app. This will allow us to send tweets on your behalf. Navigate to the User authentication settings section and press the Set up button.
Set the App permissions to Read and write.

Set the Type of App to Web App, Automated App or Bot.

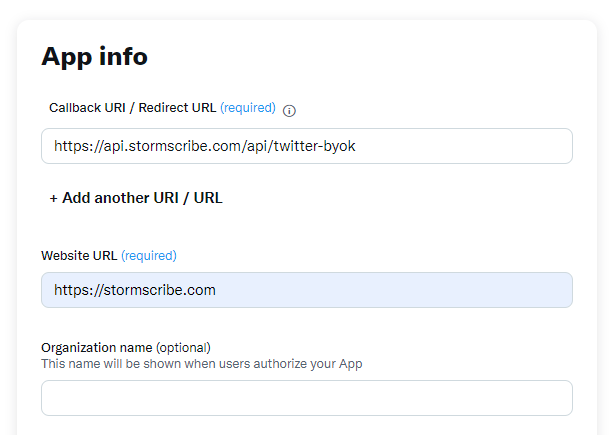
In the App info block, set the Callback URI / Redirect URL to https://api.stormscribe.com/api/twitter-byok. Set the Website URL to https://stormscribe.com. At the bottom, press the Save button. If a popup appears warning you that changing permissions might affect your App, press Yes.
A Client ID and a Client Secret will appear on the screen. You can write them down if you want, but you won't need them, since we need the API keys, which you will generate in the next step. Press Done. Another popup will appear warning you to save the credentials. Press Yes, I saved it.
Generate API keys
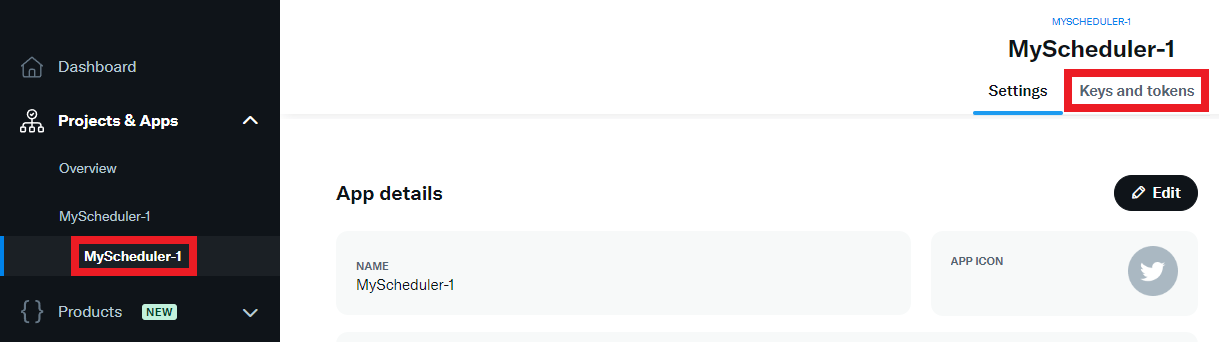
Select your app on the left and navigate to the Keys and tokens tab.
On this page, press the Regenerate button under the Consumer Keys section.
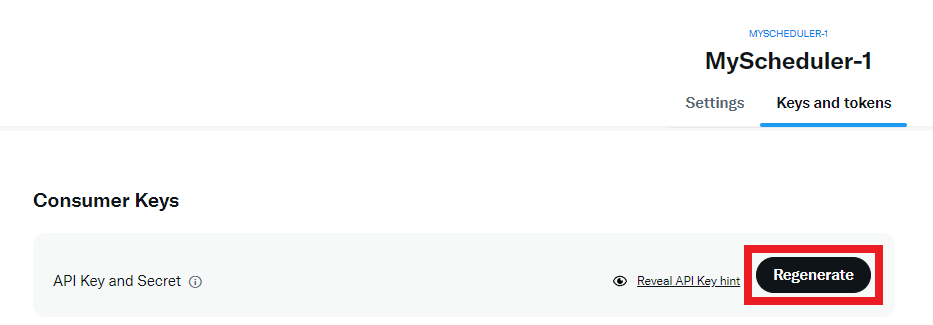
On the next screen, press the Yes, regenerate button. Write down both the API Key and the API Key Secret. You will need them later.
Add your credentials to StormScribe
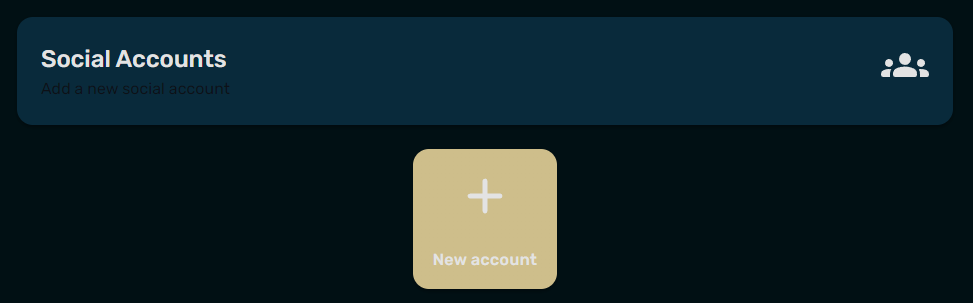
Navigate to our Socials page and press the New account button.
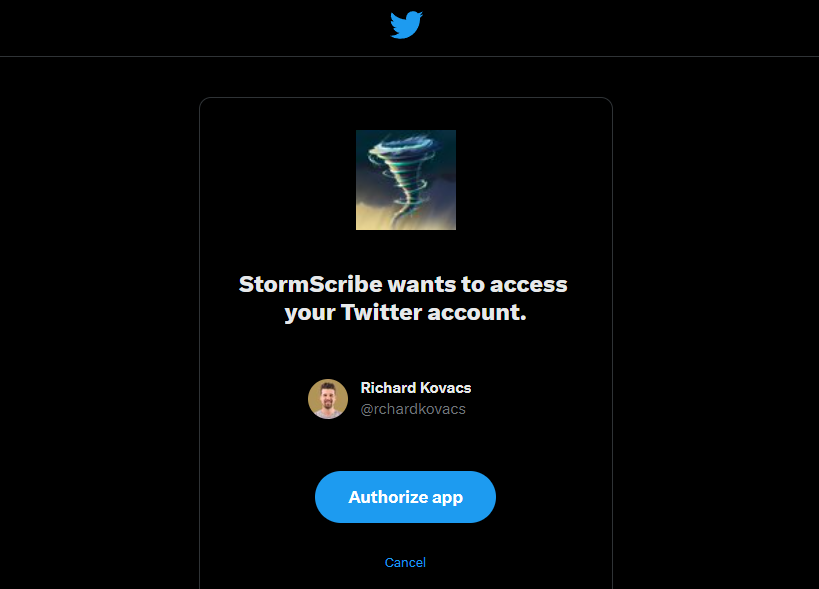
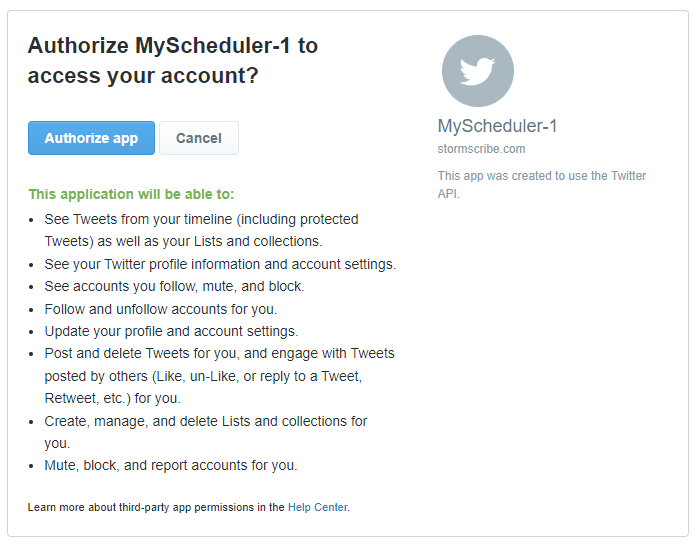
Select Twitter from the dropdown and authorize our app on the next screen by pressing the Authorize app button.
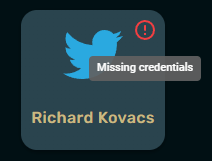
This will give us permission to access your account, but we are still unable to send tweets on your behalf. To do that, we need your API keys. A small warning will appear at the top right corner of your account saying "Missing credentials".
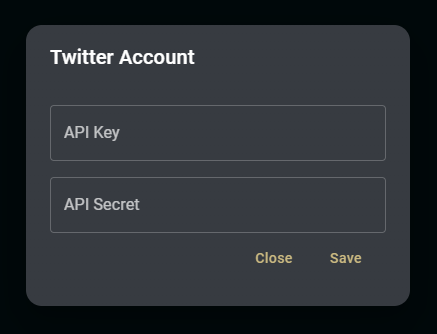
Press on your account and fill out the form with the API keys you generated earlier. Press Save.
Another authorization request will appear, but this time, you will authorize your own app instead of ours. Press the Authorize app button.
We will use your API keys to send tweets on your behalf. If everything went well, the warning on your account should disappear.
Schedule your first tweet
Congratulations! You can now schedule tweets on Twitter. Navigate to the Create page, write your first tweet, choose your account under the Socials section and press the Send now button. Or, if you want to schedule it for later, choose a date and time and press the Schedule button.